I also wanted to share that I won another contest! I entered a contest at the long thread (her site is amazing and the blog has SOOOOO many ideas). I won the new ReSew book.

It's in the mail and I am SUPER excited to be able to get my hands on it and get started with re-using thrift store purchases. YAY!
Beeeefore I get to the flowers....
First, I want to show you the fabulous set-up/presentation I did for the baby shower. I'll get to the flowers in a minute. I love making diaper cakes. I feel they are useful, fun, whimsical and above all, a gift that most mothers seem to really love. I took 20 size 3 diapers, rolled them, taped them, and tied them together in my desired shape (an oval and a circle).
The oval for the body.....
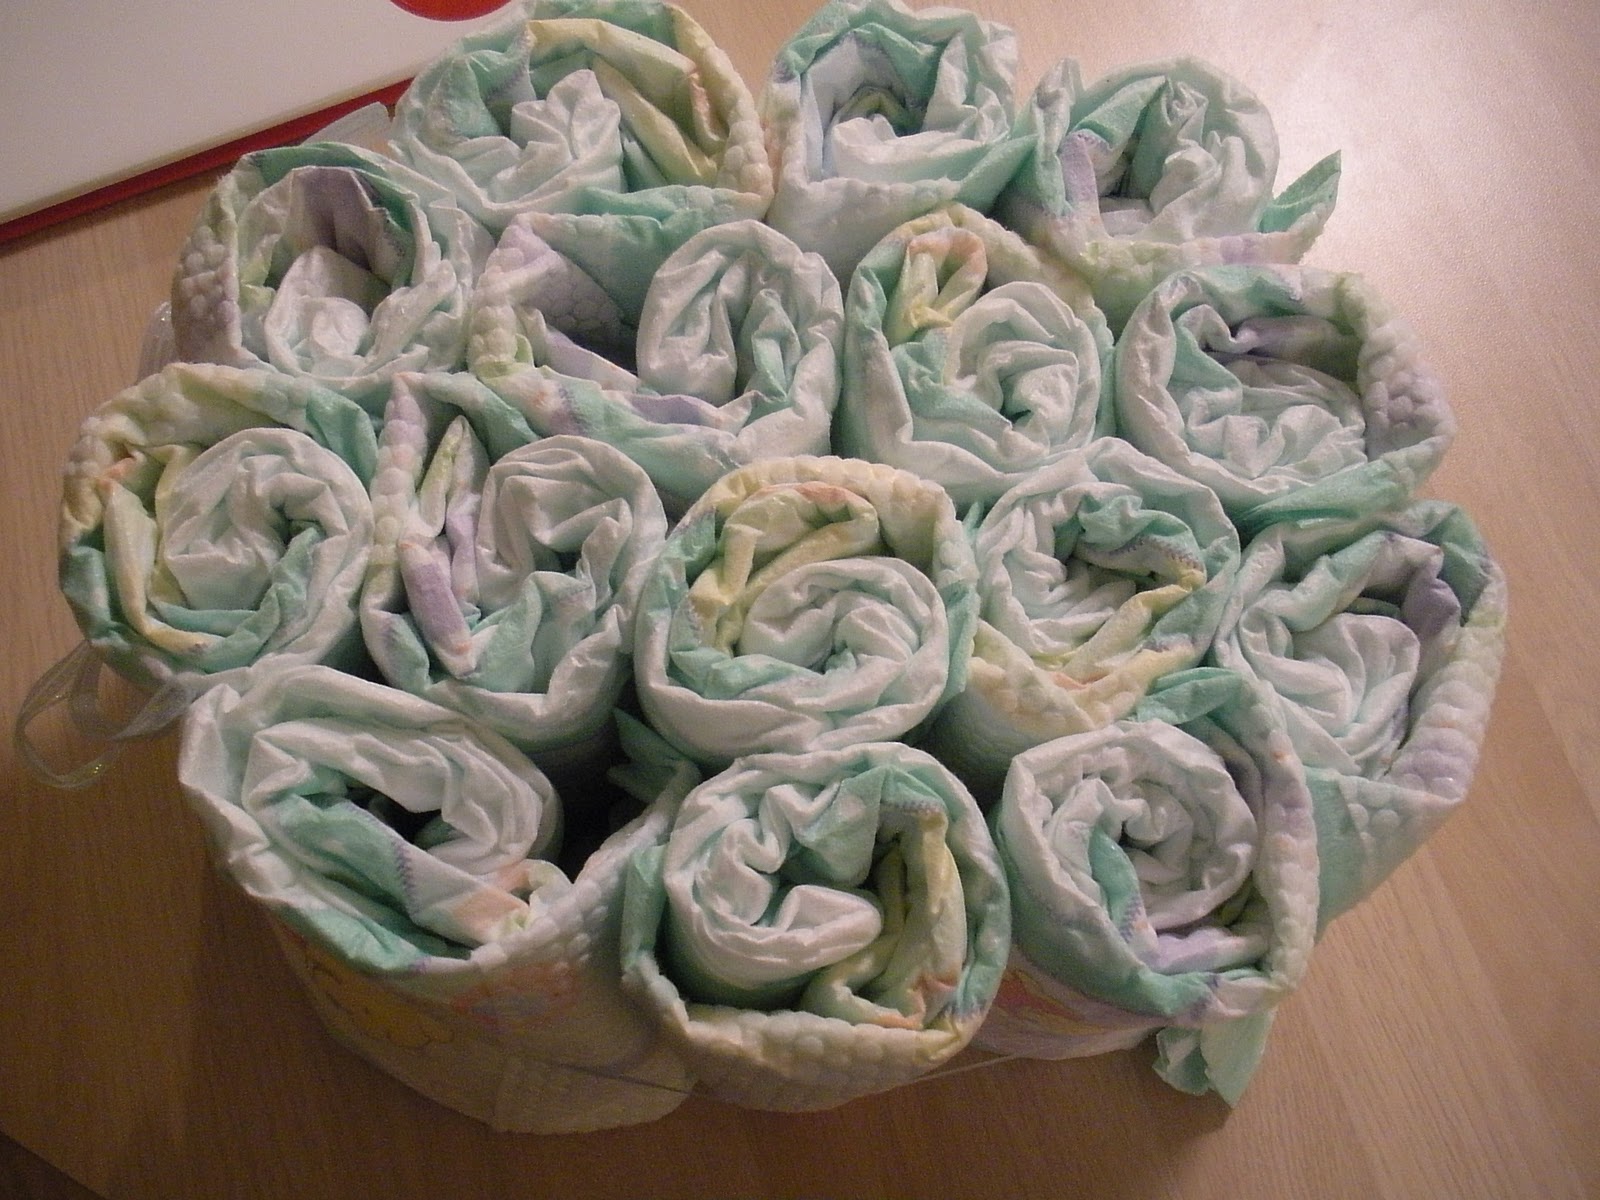
The circle for the head....

I then covered it with yellow fleece I had laying around in the craft lair. Safety pin the two layers together, add an orange beak and Voila!

A Diaper Duck is born.

Everything is either safety pinned together, or taped so none of the diapers are damaged in the process. YAY!
Ok, now on to the fabric flowers. I have seen these on the internet and all over blog-land. I didn't really use one idea/pattern that I saw. I studied the methods, then chose my own with a twist.
Supplies:
Polyester fabric - any pattern,/style - I use cheap chiffon, silky prints and cheap satin
Candle (lit)
Tongs
Thread and needle
old shirt or scraps of material for the base
Start with the tshirt- When I make a headband version I cut off a strip of the shirt from the bottom. For the scrap piece to use as a base, I just cut a small square from the shirt.


Next, your fabric. This was all in my stash already. I purchased nothing new - and you will only need about an 1/8 to a 1/4 of a yard to get multiple flowers when using multiple fabrics.

Cut all the fabric into squares/rectangles, rounded rectangles, jagged squares - it doesn't really matter. The bigger the piece of fabric cut, the bigger the petal it will make. You will need to vary the sizes so you can get progressively smaller towards the center of the flower - so it has an actual "center" to it.

Take the lit candle, and use the tongs to grasp a piece of fabric. This step will take some practice and should be done with cation. . BE CAREFUL TO NOT LIGHT THE FABRIC ON FIRE. Holding the tongs in the candle, but not RIGHT in the flame, glid the fabric over the heat of the candle. You do not want to burn it you just want the extream heat from the flame.

This may be a better picture. You can see that I have the fabric in the candle, but not touching the flame and that it is starting to curl and pucker on itself. You will need to "test" your fabric. The chiffon will melt VERY quickly - thicker fabrics need more heat and more time.

You will end-up with a pile of curly pieces like below.

Thread a needle with a very long piece of thread. I used whatever was on top of the bin. You could certainly use matching thread.

Begin to sew the pieces on the scrap of fabric. Place the petals at random positions and work around the scarp in a circular motion. I tend to work clockwise. It will look hideous at first. KEEP GOING!

Continue to sew pieces on top of each other. Don't worry about sewing each piece a BAZILLION times - it will be secure because of all the layers. Keep adding more layers.....

Add. More. Layers...

When your flower is the desired space/size that you want, tie off the thread and Voila! You are done.

Alllll done.

Examples of other flowers I have done...

I hope that this tutorial was helpful. If you have any questions or get stuck when you try this - don't hestitate to send me an email or leave a comment below: sandytoesbride@gmail.com
Hope everyone had a fabulous weekend! :-)

5 comments:
Love the diaper duck!
Let me just say two things
1. You are one lucky lady! Congrats on winning another contest!
2. You are so crafty and I am so jealous! Love the diaper duck and the beautiful fabric flowers you made!
wow nice work!!!
Thanks ladies!!!! :-)
I LOVE your diaper duck... so cute! I've never seen anything like it. Congrats on the giveaway win, too!
Post a Comment